


Appwrite is an open-source backend server that helps developers build web and mobile applications quickly. It simplifies common backend tasks like user authentication, file storage, database management, and more.
Appwrite is an open-source backend server that simplifies backend development for web and mobile applications. It's designed to streamline various common backend tasks, making it easier for developers to focus on building their applications rather than spending extensive time managing the backend infrastructure. Here are some reasons why Appwrite stands out:
All-in-One Solution:
- Appwrite provides a comprehensive set of backend services, including user authentication, database management, file storage, cloud functions, and more. This all-in-one approach reduces the need to use multiple backend services or manage separate components.
Open Source and Self-Hosted:
- Being open-source means that developers have access to the source code and can contribute to its improvement. Additionally, it can be self-hosted, giving developers more control over their infrastructure and data privacy.
Easy Integration:
- Appwrite offers SDKs and APIs for various programming languages, making it easy to integrate with different platforms and frameworks, such as React, Angular, iOS, Android, etc. This simplifies the process of incorporating backend functionalities into applications.
Security Features:
- It includes built-in security measures like JWT-based authentication, server-side validation, data encryption, and access control to ensure secure data transmission and storage.
Scalability:
- Appwrite is designed to scale with your application. Its architecture allows for horizontal scaling, meaning it can handle increased workloads by adding more servers or instances.
Real-time Capabilities:
- It supports real-time data synchronization through webhooks and real-time database listeners, enabling instant updates across connected clients.
Community Support and Documentation:
- Appwrite has an active community and comprehensive documentation, providing resources, tutorials, and support for developers.
Cost-Effectiveness:
- As it's open-source, self-hostable, and offers a free tier, Appwrite can be cost-effective for startups and projects with limited budgets.
Versatility:
- Its modular structure allows developers to pick and choose the specific services they need, making it suitable for various types of applications, from small projects to large-scale enterprise applications.
Overall, Appwrite simplifies backend development by providing a unified platform with a range of essential backend services. Its flexibility, security, ease of use, and scalability make it an attractive choice for developers looking to accelerate the backend development process while maintaining control over their infrastructure.
To use Appwrite with a React JS web app, you'll need to set up Appwrite and integrate it into your project. Here's a basic guide:
Setting Up Appwrite
Install Appwrite:
You can install Appwrite using Docker or download it directly from their website.

Start Appwrite:
- Once installed, start the Appwrite server.
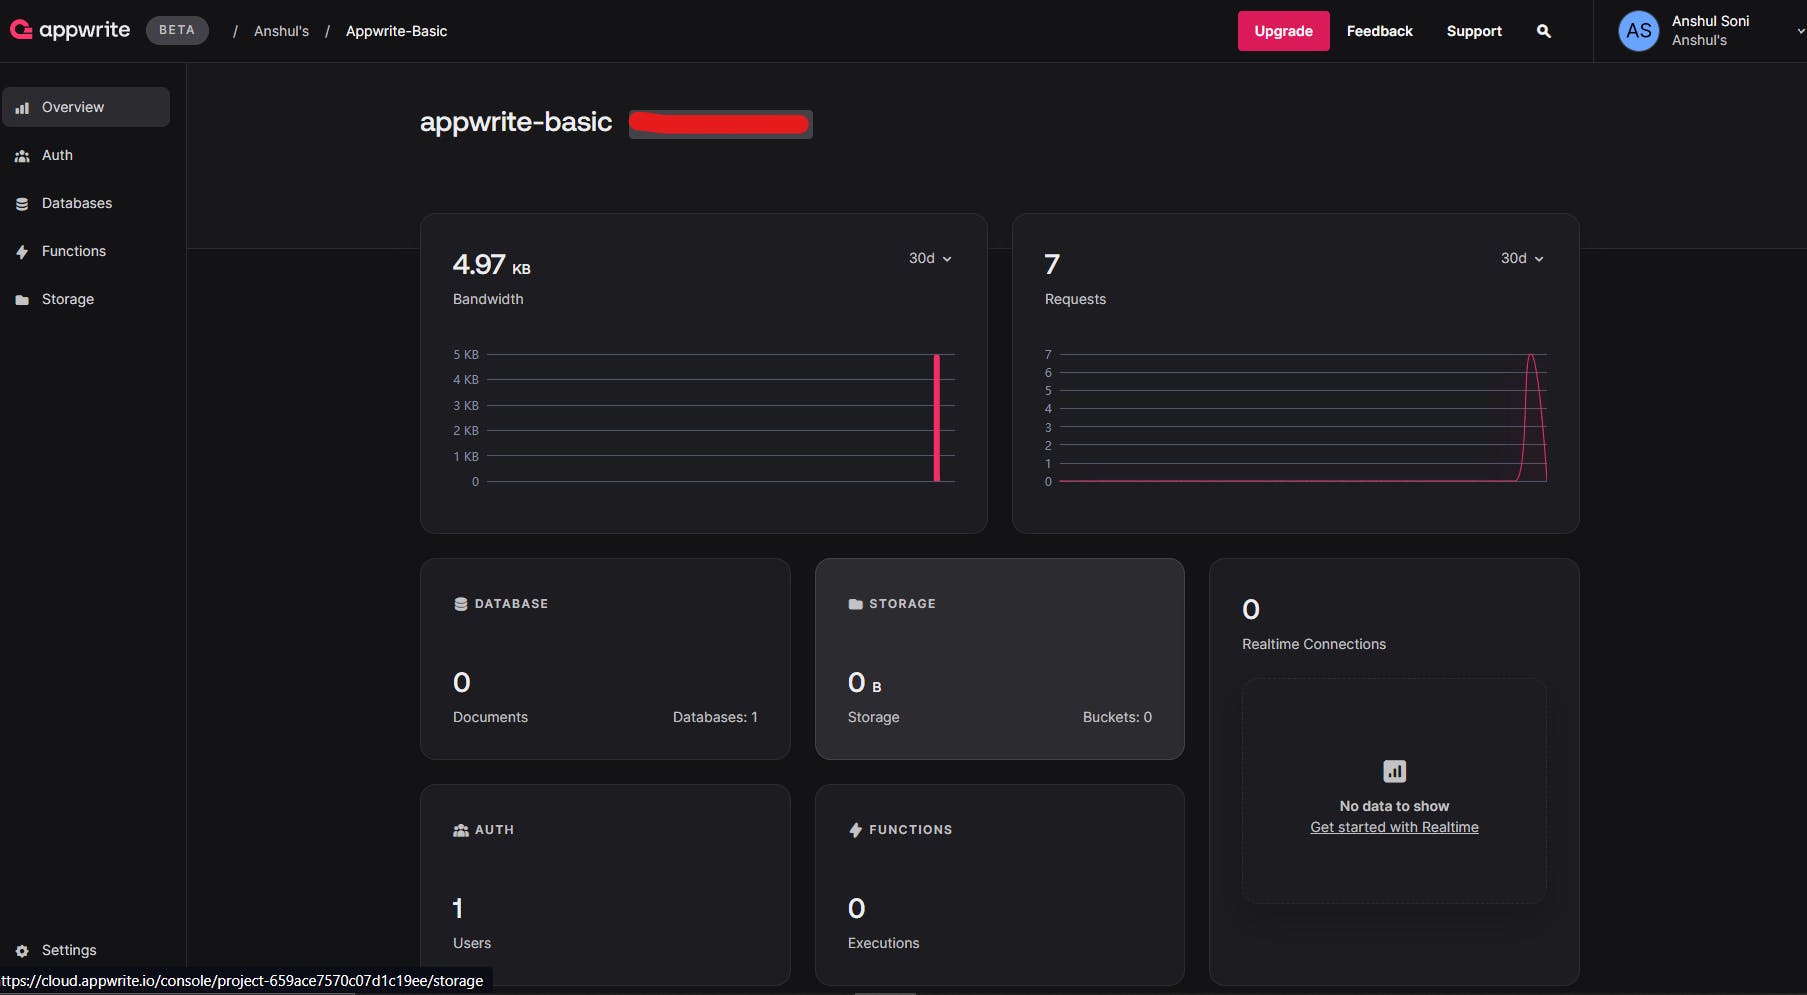
Create a Project:

Access the Appwrite dashboard (usually available at
http://localhost/dashboardwhen running locally).Create a new project and note down the project ID and API keys.
Integrating Appwrite with React
Set Up React Project:
- Create a new React project or use an existing one.
Install Appwrite SDK:
In your React project directory, install the Appwrite JavaScript SDK:
npm install appwrite
Initialize Appwrite in Your React App:
Create a service file to manage Appwrite initialization and configuration.
  // appwriteService.js
  import { Appwrite } from 'appwrite';

  const appwrite = new Appwrite();
  appwrite
    .setEndpoint('YOUR_APPWRITE_ENDPOINT') // e.g., 'http://localhost/v1' if running locally
    .setProject('YOUR_APPWRITE_PROJECT_ID') // Your Appwrite project ID
    .setKey('YOUR_APPWRITE_API_KEY'); // Your API key

  export default appwrite;
Using Appwrite Services in React Components:
Import the
appwriteinstance from the service file into your React components.Use it to interact with Appwrite services like authentication, database, files, etc.
For example, to handle user authentication:
    // Login component
    import React from 'react';
    import appwrite from './appwriteService';

    const Login = () => {
      const handleLogin = async () => {
        try {
          const result = await appwrite.account.createSession(
            'EMAIL', // Replace with login type (e.g., 'EMAIL', 'PHONE', 'USERNAME')
            'user@example.com', // Replace with user credentials
            'password123' // Replace with user password
          );
          console.log(result); // Handle successful login
        } catch (error) {
          console.error('Login failed:', error);
        }
      };

      return (
        <div>
          <h2>Login</h2>
          <button onClick={handleLogin}>Login</button>
        </div>
      );
    };

    export default Login;
Note:
Replace
'YOUR_APPWRITE_ENDPOINT','YOUR_APPWRITE_PROJECT_ID','YOUR_APPWRITE_API_KEY', and other placeholders with your actual Appwrite server details and keys.Explore the Appwrite JavaScript SDK documentation for more functionalities like database, file storage, etc., and their respective usage in React components.
This should give you a basic setup to integrate Appwrite into your React application, allowing you to utilize its backend services for your web app.